

Set up your test and production accounts and find the URLs for each environment.
SADAD Pay has two separate environments. Use Sandbox to build and test your integration without real money, then switch to Live to accept real payments.
Environments at a glance
| Sandbox | Live | |
|---|---|---|
| Use it for | Building and testing (no real money) | Real payments |
| Register | sandbox.sadadpay.net/account/register | sadadpay.net/account/register |
| Merchant portal | https://sandbox.sadadpay.net | https://sadadpay.net |
| API base URL | https://apisandbox.sadadpay.net/api | https://api.sadadpay.net/api |
| Payment page | https://sandbox.sadadpay.net/pay/{KEY} | https://sadadpay.net/pay/{KEY} |
| Swagger | apisandbox.sadadpay.net/swagger | api.sadadpay.net/swagger |
| Activated by | SADAD technical team | SADAD team, after your account details are completed |
Sandbox and Live are completely separate
Each environment has its own account, Client Key, Client Secret, tokens and invoice IDs. Using Live keys with the Sandbox URL (or the reverse) returns 401 Unauthorized, and an invoice ID from Sandbox does not exist in Live.
Sandbox account
Step 1: Register
Go to the sandbox registration page and fill in your Name, Email, Password, Mobile, Account Type and Company Name, then click JOIN NOW.
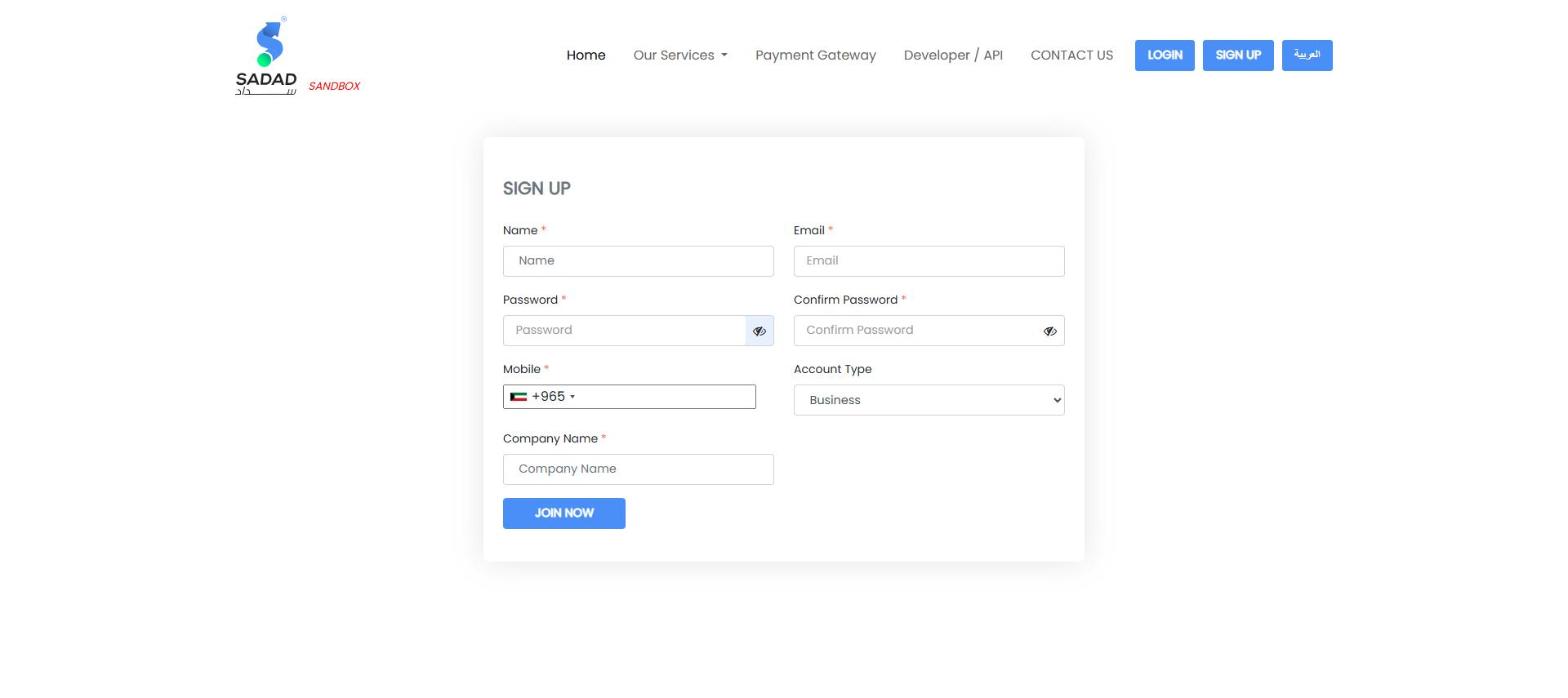
The SADAD Pay sandbox sign-up form
Step 2: Activate your account
Email [email protected] with the subject "Sandbox Account Activation" and include:
- the email address you registered with
- your company name
- the features you want to test (for example: API access, Embedded Payment, Multi-Supplier)
Step 3: Get your API keys
Once your account is active, find your Client Key and Client Secret in the portal. See API Keys & Authentication.
Test payments
Use our Test Cards to simulate approved, declined and failed KNET and card payments.
Live account
Step 1: Register
Create your account at sadadpay.net/account/register.
Step 2: Activate your registration
After you register, you will receive an activation code. Use it to activate your registration. If you don't receive the code, contact us at [email protected].
Step 3: Account activation by SADAD
Our team completes your account information on our side. Once everything is complete, your account is activated for live payments.
You don't have to wait
Live activation doesn't block your development. Build and test everything on Sandbox while your Live account is being set up.
Calling the API
Every request uses the base URL of its environment and your Access Token in the Authorization header.
POST /api/Invoice/insert HTTP/1.1
Host: apisandbox.sadadpay.net
Authorization: Bearer {access_token}
Content-Type: application/json
POST /api/Invoice/insert HTTP/1.1
Host: api.sadadpay.net
Authorization: Bearer {access_token}
Content-Type: application/json
Switching from Sandbox to Live
- Change the API base URL to
https://api.sadadpay.net/api. - Change the payment page URL to
https://sadadpay.net/pay/{KEY}. - Use the Client Key and Client Secret from your Live account, and generate new tokens.
- Add your Success URL, Fail URL and Webhook URL in your Live profile. They are not copied from Sandbox.
See the full Go-Live Checklist.
Need help?
Email [email protected] with your account email, the environment (sandbox or live) and the invoice ID if you have one.